
Land Screening
The more constraints you have, the harder it gets to find sites that meet all of them. Land Screening lets you sweep a large area, such as a US state or a medium-sized European country, in one go, so you have a better chance of finding sites that fit.
Results come back in minutes, so you can adjust your constraints and search again if you find you were searching too narrowly or too widely. The search runs on your existing constraint profiles, so there is no trade-off between the number of constraints and the size of the area you search.
A search returns a list of opportunity areas that you can sort and filter. Each opportunity area shows its buildable area, and so does every parcel within it, so you can rank on what is actually developable rather than on total size. You can investigate each one, then take the whole area or just the parcels you want into a project or export it to CSV.
The buildable area on each parcel is close close to what the Buildable Area tool returns for the same parcel, though not an exact match.
🆕 New feature. This is a new feature set launched on August 20. 2026. Please reach out to the team if you have any more questions or feedback. This feature is not enabled out of the box and is only available in certain regions, reach out to your CS representative to learn more.
Where to find the feature
If you have Land Screening enabled for a certain region, you will find it in the left menu when in a portfolio attached to that region.
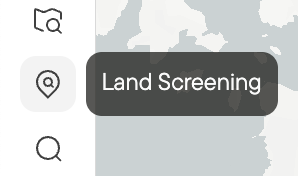
How to start a search
You start a new search by clicking "+ New Search" -> Pick constraint profile in the drop down -> Pick region in the drop down, or draw a region where you want to search -> Click "Search". This will take a few minutes, you can safely close Land Screening and do something else while this runs.
Opportunity areas
Once your search has finished you can click into the reslult.
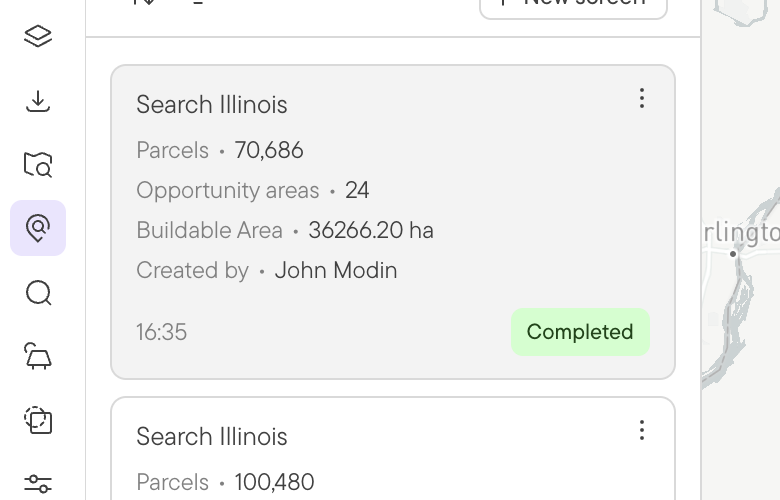
Then you will see a list of opportunity areas in the left side. These can be sorted and filtered by clicking the sort and filter icons on top.
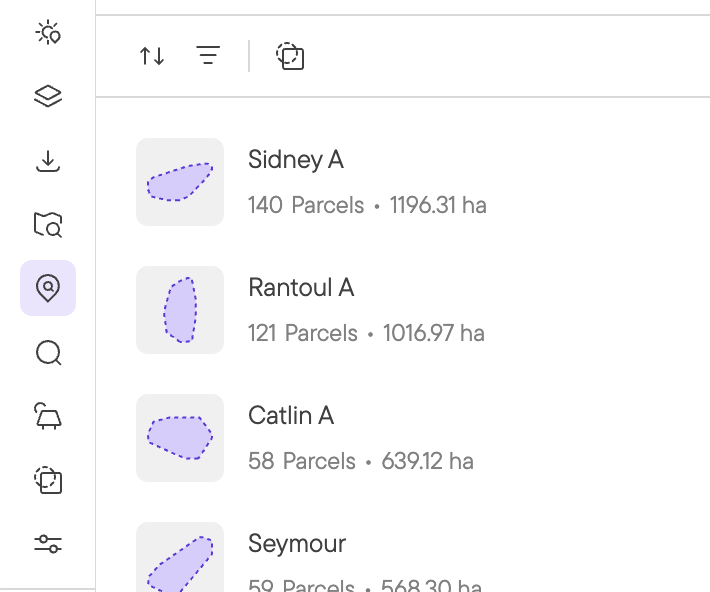
Clicking an opportunity area in the list will take you to this opportunity area in the map
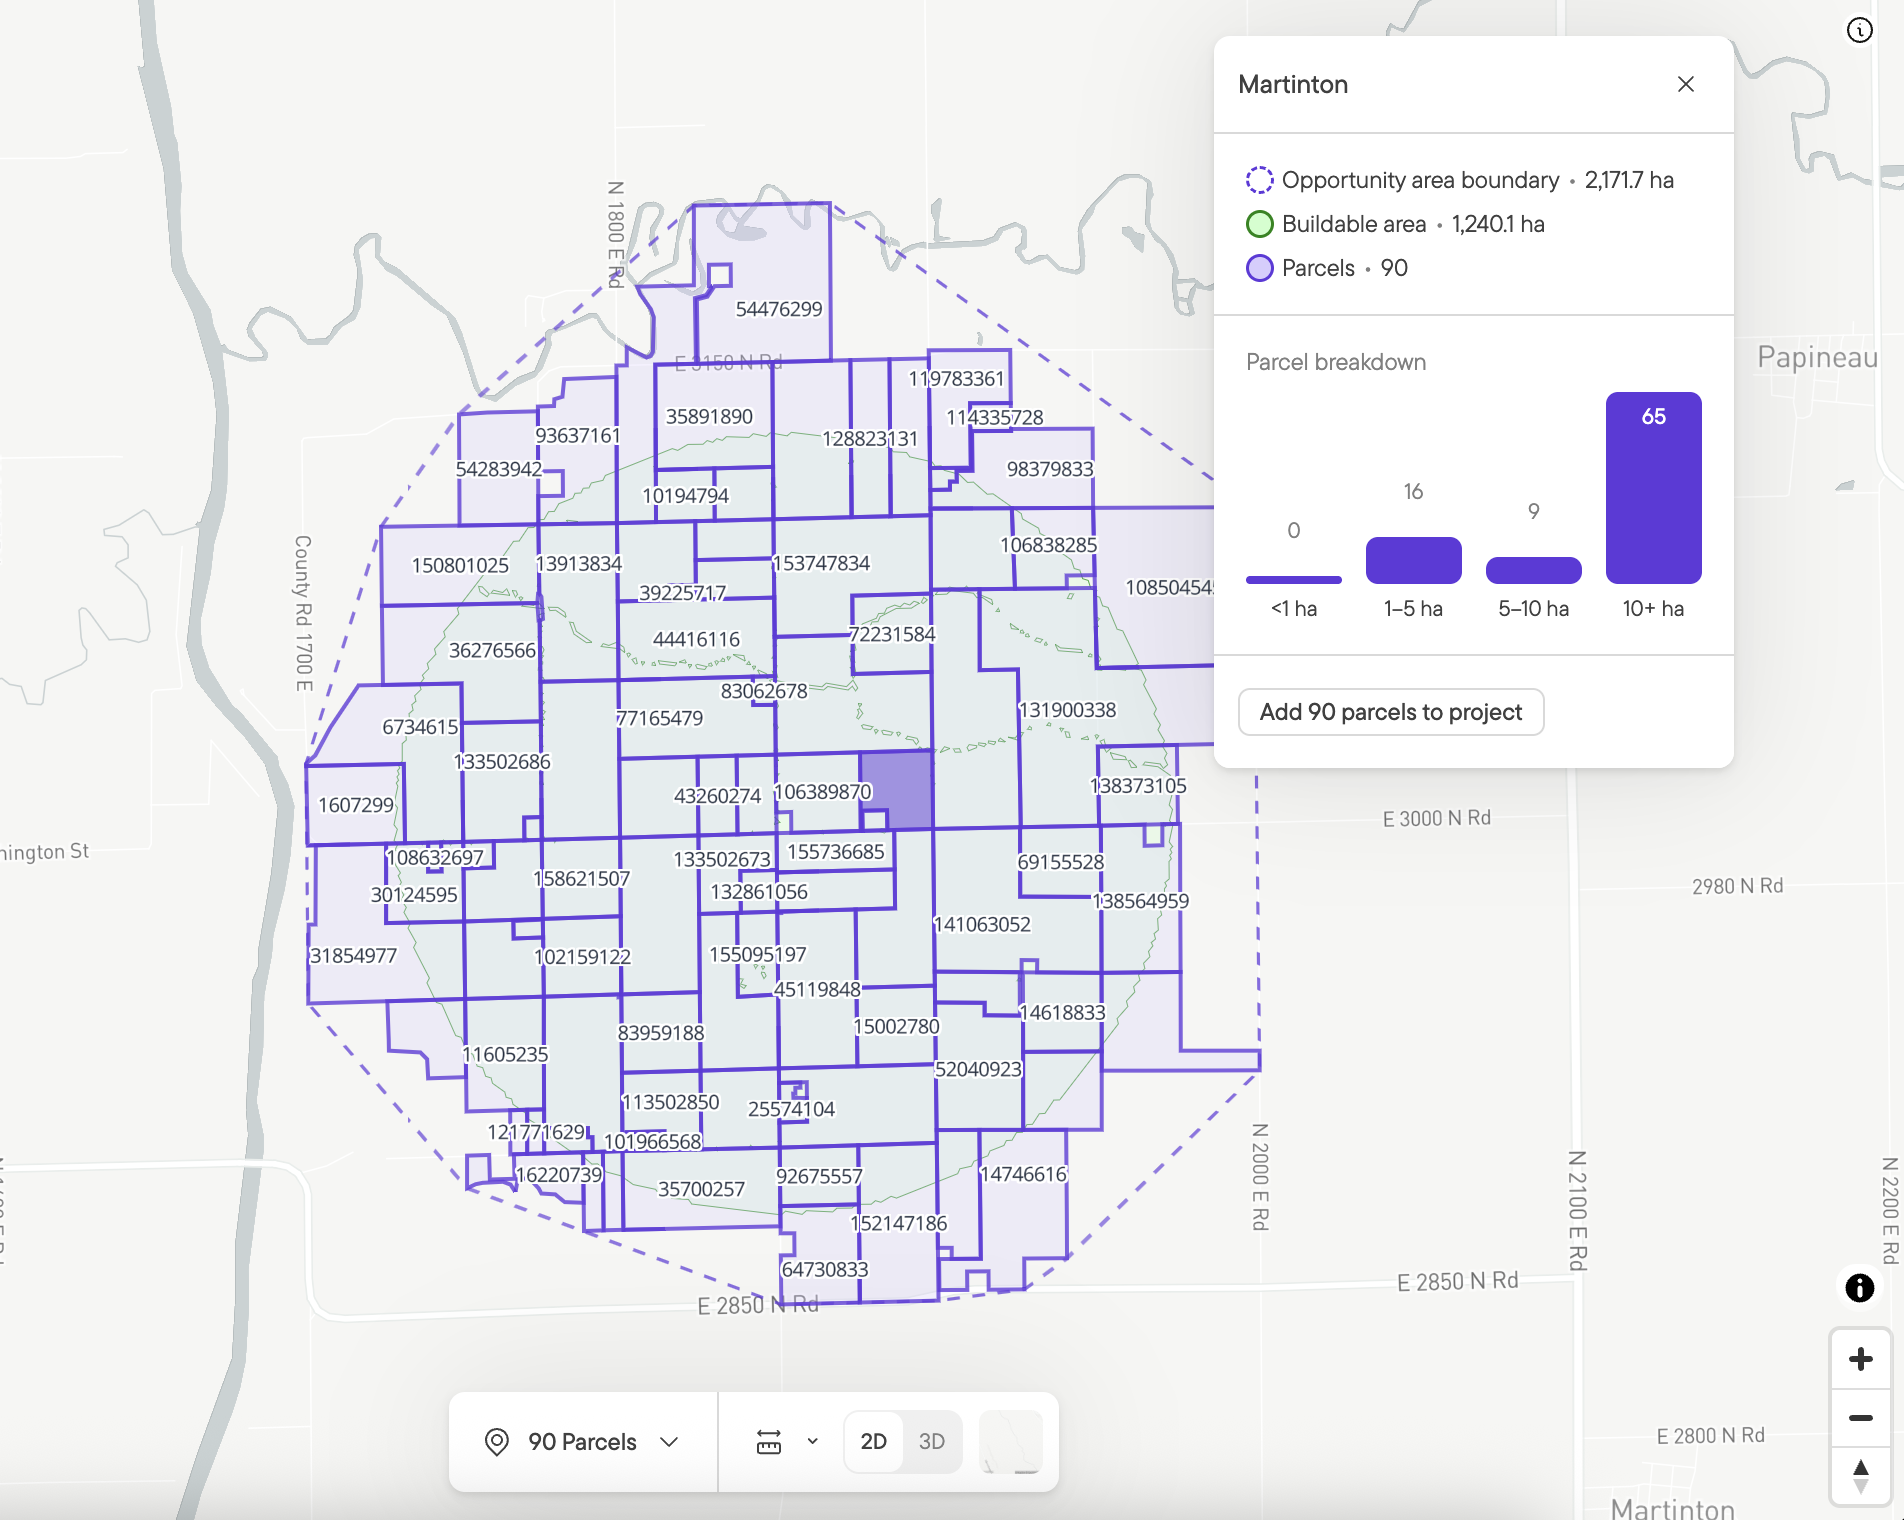
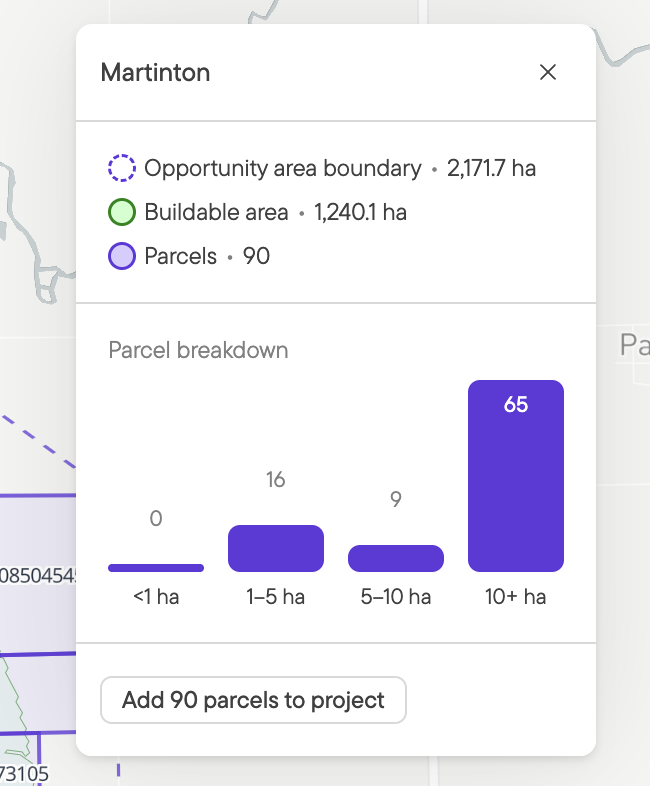
The buildable area is shown in transparent green, the parcels that fit the criteria are shown in purple. The bounds of the opportunity area is shown in purple dotted line.
In some cases you might see an area that is buildable but you have no parcels in that area. This is due to having a constraint on the parcel layer it self, e.g. requiring parcels of a certain size.
Once you have clicked into an opportunity area you can add all the parcels by clicking the button at the bottom of the floating menu.
Picking individual parcels
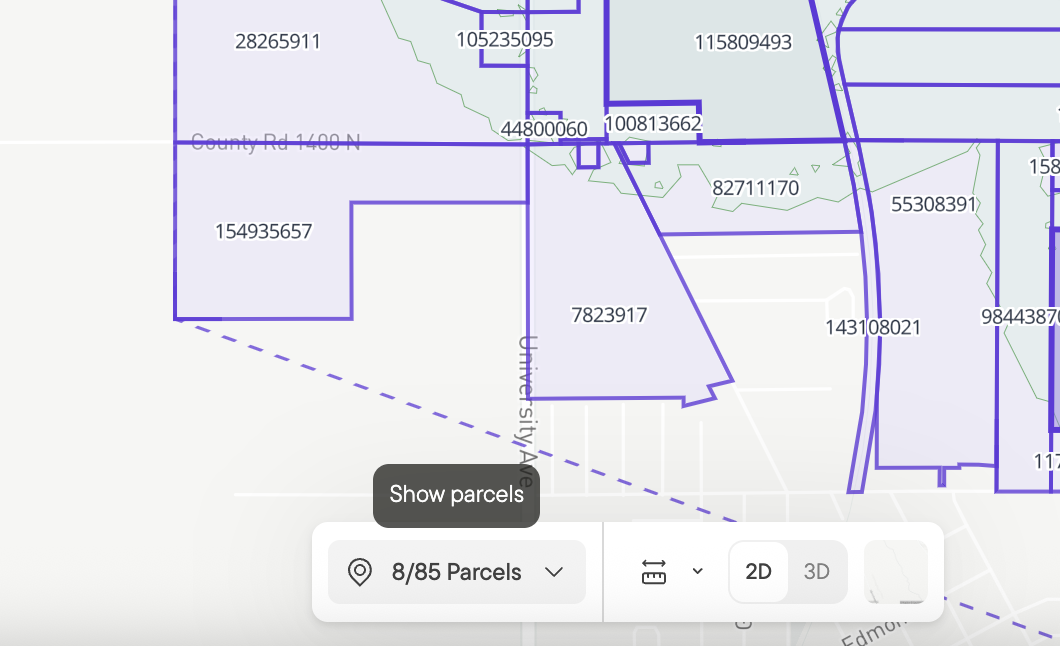
You can pick individual in two ways: 1. parcels by clicking in the map (holding shift while clicking lets you select multiple parcels) 2. by opening the parcel table and selecting rows using the selection boxes
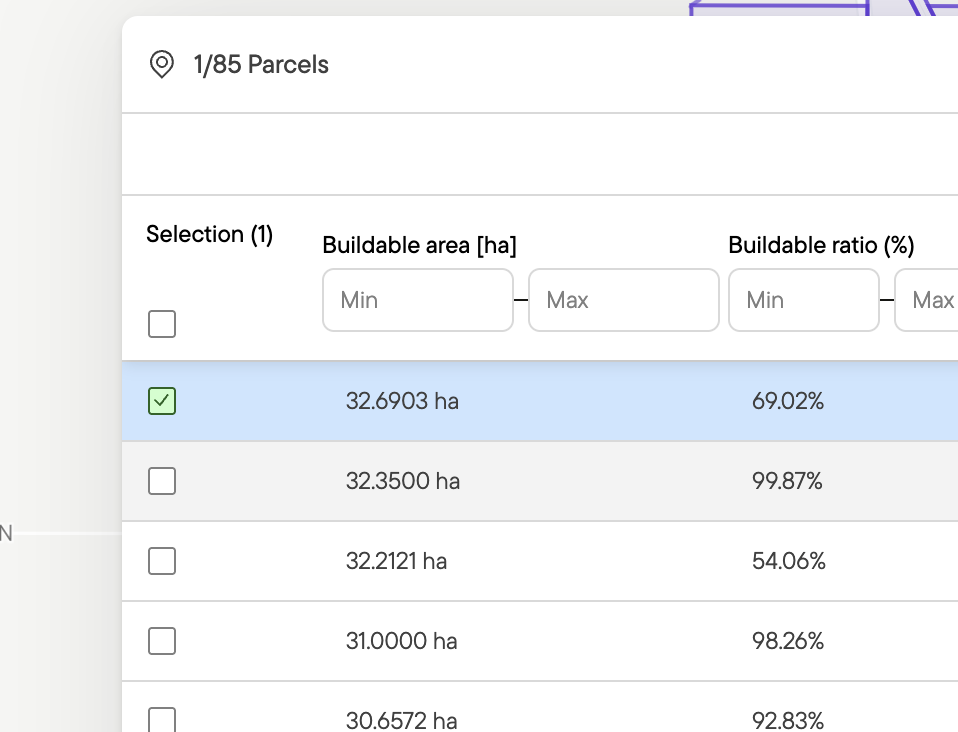
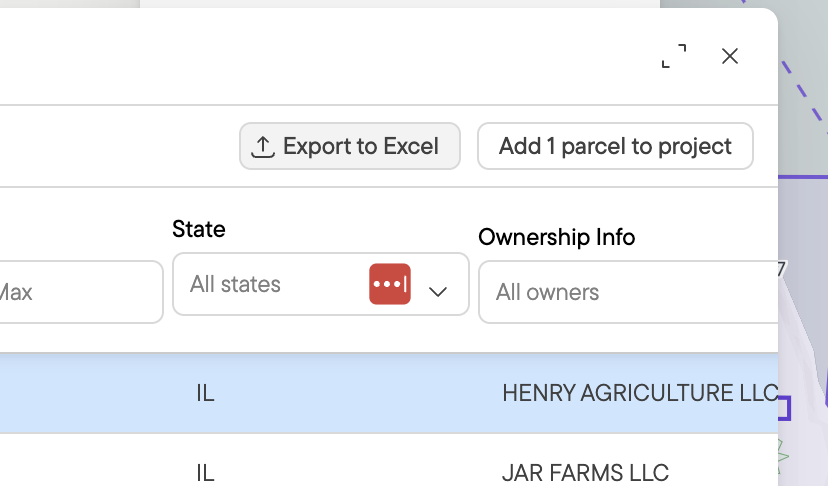
From here you can either send the selected parcels to a project, or export them to CSV.
Adding to project
In order to add parcels to a project, click into the results from a search, then select an opportunity area. You can now add all the parcels in this opportunity area to your project by clicking the button at the bottom of the floating menu
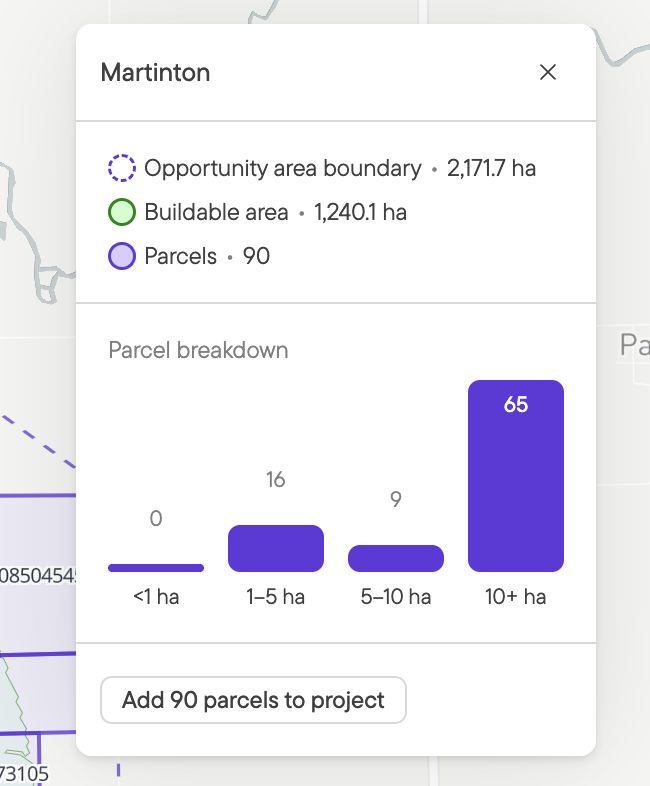
You can also select individual parcels by clicking in the map, or by selecting rows in the table. If there are too many parcels n the opportunity area, you won't be able to add them all to a single all at once project. Select the ones you want and add them to projects in steps.
Exporting results to CSV
In order to export results to CSV, Inspecting which constraints were used
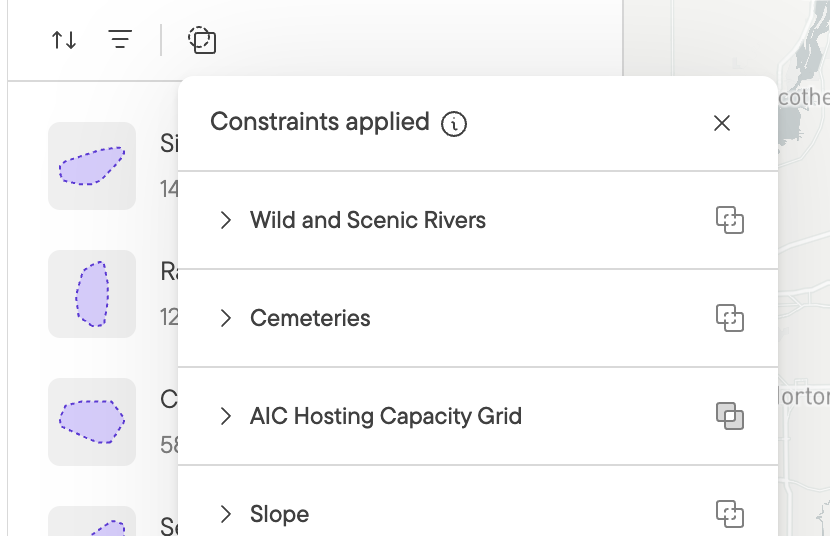
Once in a search result, you can click the constraint icon on the top of the list, this will show which constraints where applied in the search
, then click the "Parcels" button on the bottom floating menu.
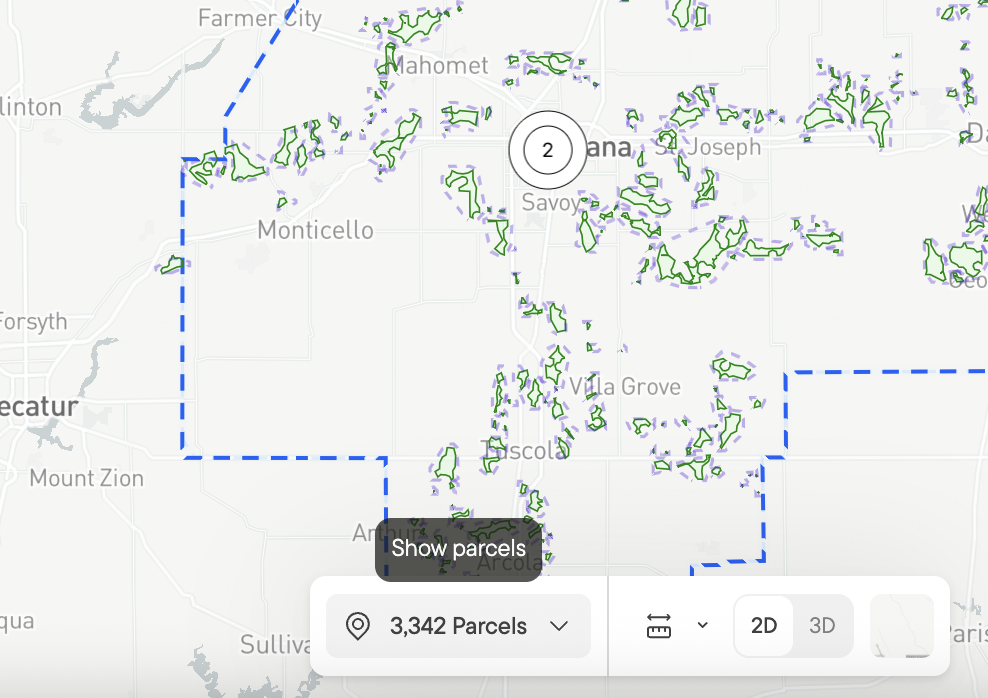
Then click Export to Excel in the top right corner of the parcel table.
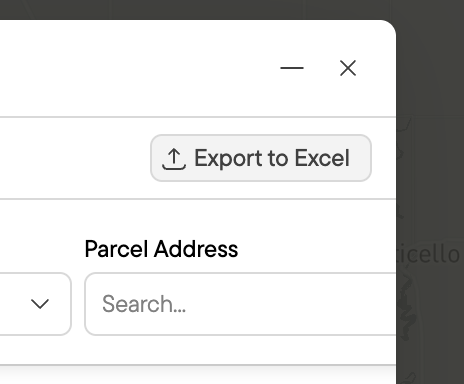
You can export all parcels in the search, or only the parcels in a particular opportunity area by first selecting that opportunity area. You can also select individual parcels by selecting in the map, or in the table.
Inspecting which constraints were used
Once in a search result, you can click the constraint icon on the top of the list, this will show which constraints where applied in the search