
Understanding the Glint Solar interface
In this article, you'll learn how to navigate Glint Solar effectively and gain a comprehensive understanding of its interface—from managing your projects and layers to changing base maps and using 3D view.
The side bar
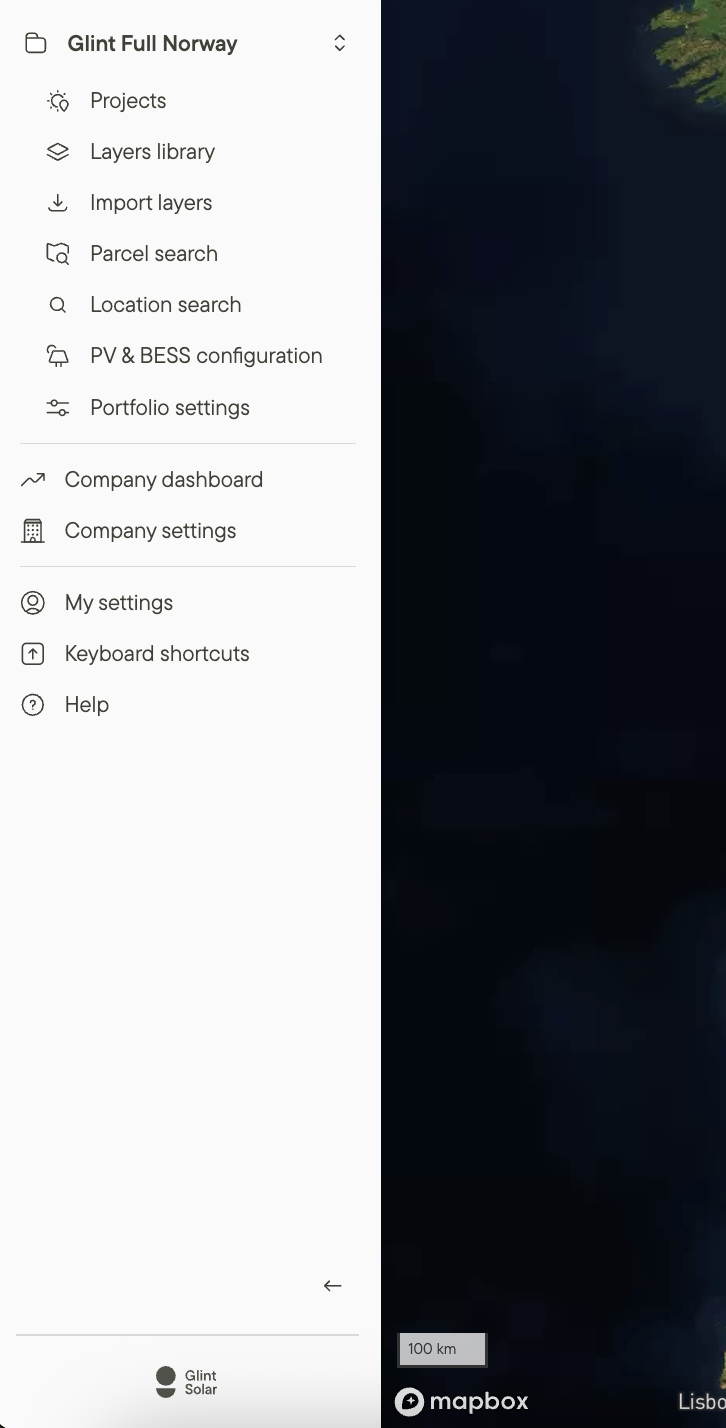
The side bar in Glint Solar stays consistent no matter where you are and can be collapsed to get a larger view of the map. It consists of Account, Projects, Layers library and import, Parcel search, search, PV & BESS configuration, Portfolio settings, Company dashboard, Company Settings, Settings, Keyboard shortcuts and Help.
The Search tool
You can search for a location, using text or coordinates, and search for things within your Glint organisation such as your projects, portfolios, settings and more.
The search tool is also accessible with the CMD+K shortcut.
Use this help to navigate the app faster and find what you need 

Account
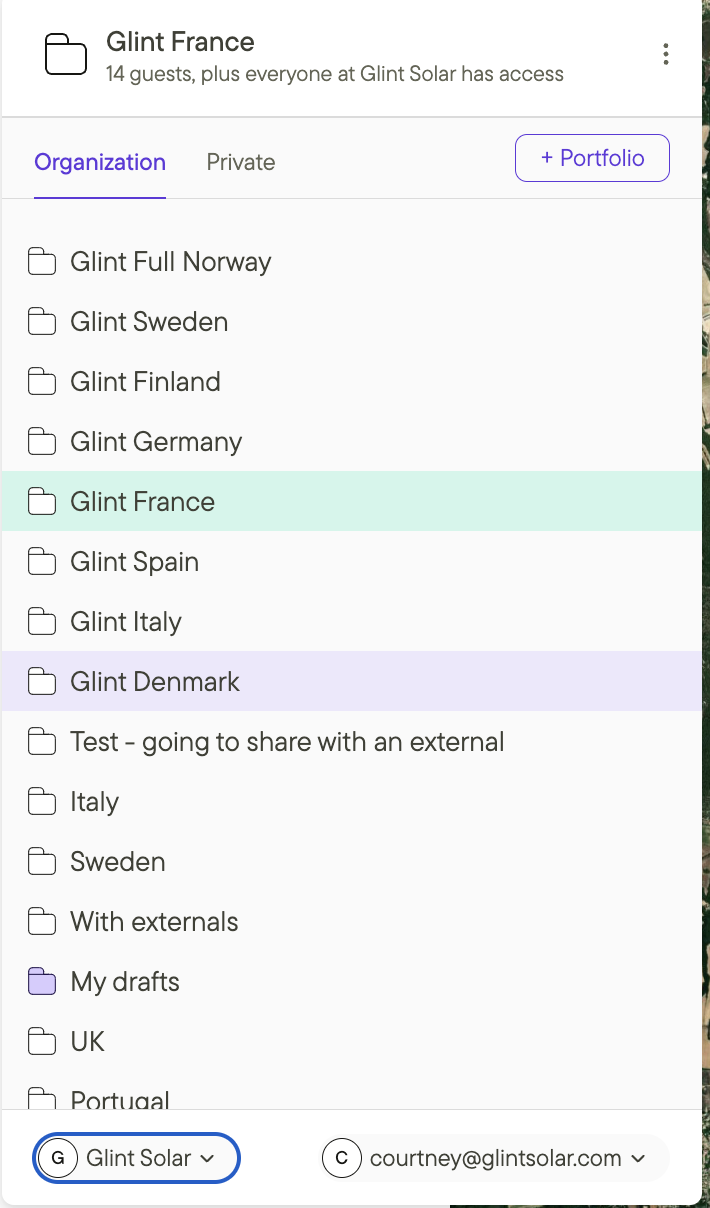
If you have several accounts with Glint Solar, either Organization or Private, you can access them from here. You can also see which organization you are currently in, as well as your user email, which you can expand to log out.
Read more on how to collaborate and create several accounts in Glint Solar here.
Projects
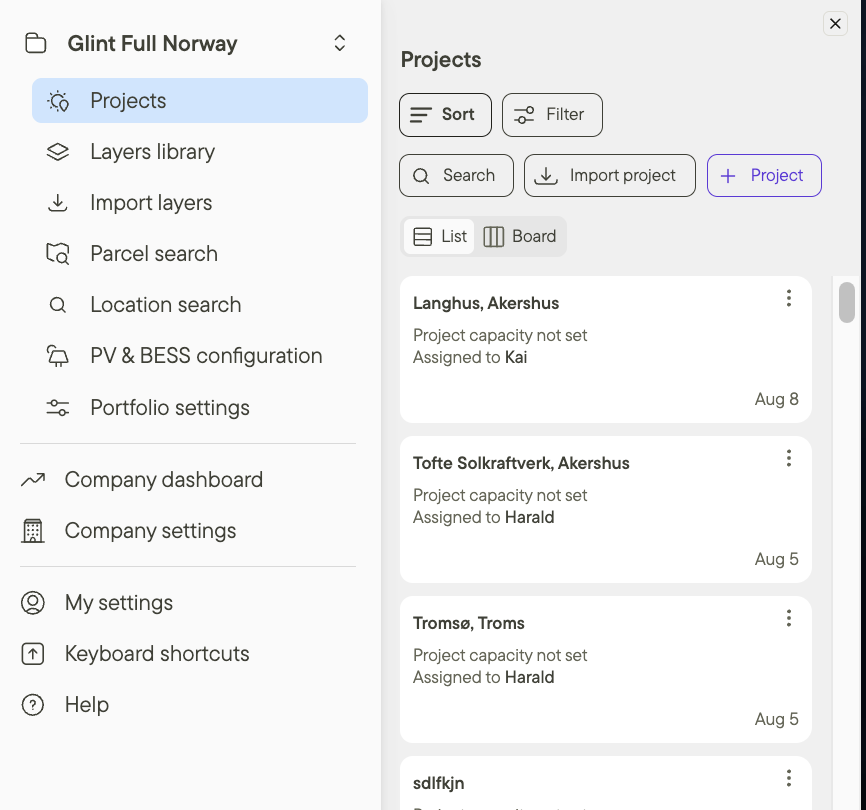
This is where you can access all projects the team has created for the selected account.
From the Projects section in the sidebar, you can access existing projects, sort, filter, and search for quick access, import existing projects, create new projects, and manage project views via List or Board.
Search for locations in the map
Search lets you look up geographical locations in the map.
There are two types of searches: Search and Parcel Search. With Search, you can type the address or coordinates in the search bar, and a list of results will appear. With Parcel Search, you can search for a specific parcel based on multiple country specific criteria, including the Parcel ID number.
Other selection
The other selections allows you quick access to the Layers library, Import Layers and PV configurations. Here you can also change your profile settings, as well as your portfolio and company settings, including managing user access. Additionally, you can access a quick guide on Keyboard shortcuts.
Company Dashboard
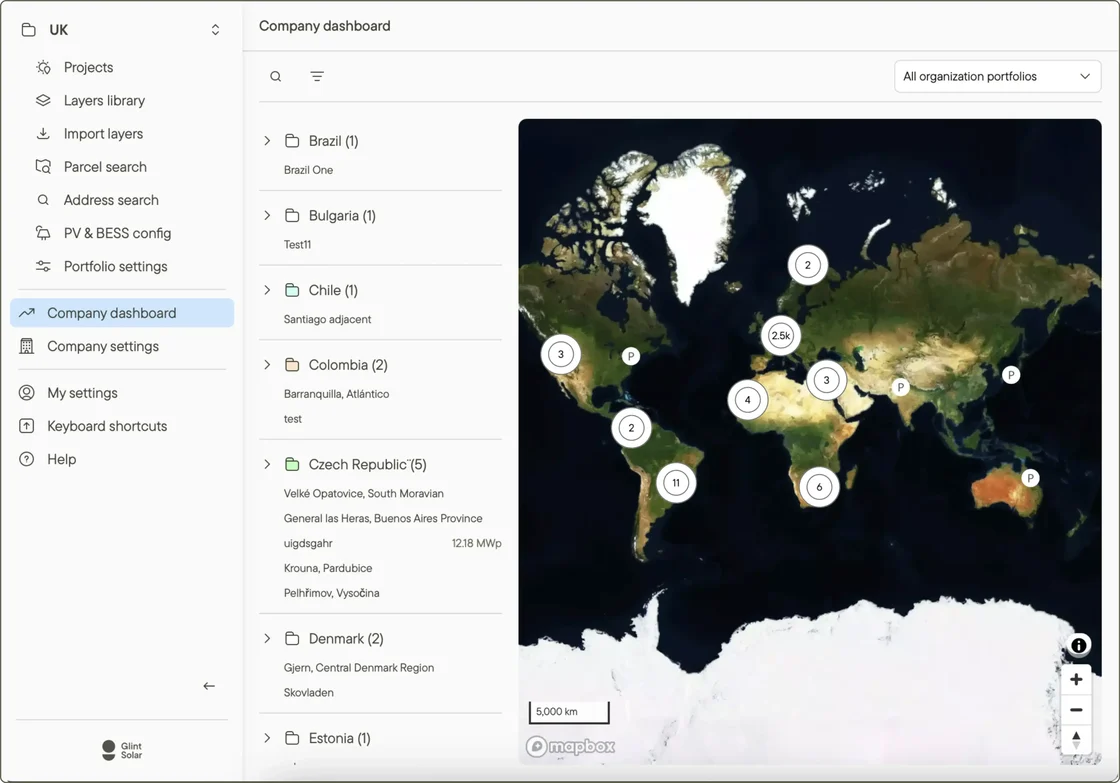
The dashboard provides a map overview of all projects, giving a bird's-eye view for organizations with multiple portfolios.
Help Selection
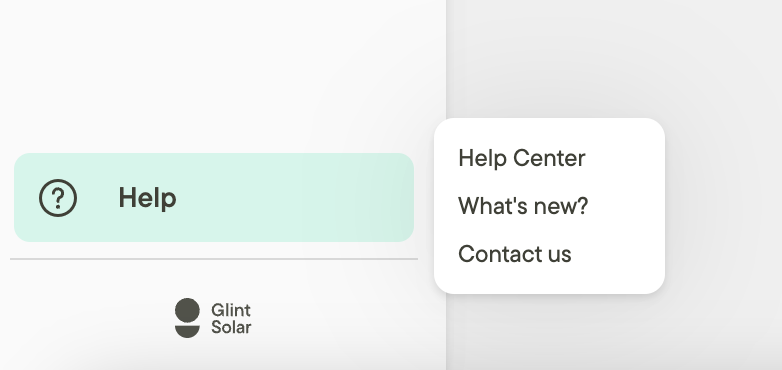
The Help selection allows you quick access to the Help Center, which includes Product Updates (What’s New?), and our Contact information. If you have a dedicated Customer Success Manager, please be sure to reach out to them for questions and assistance first!
Managing data layers from the top right
The top right corner of the screen is where the solar story begins. All available data layers can be found here to be displayed on the map.
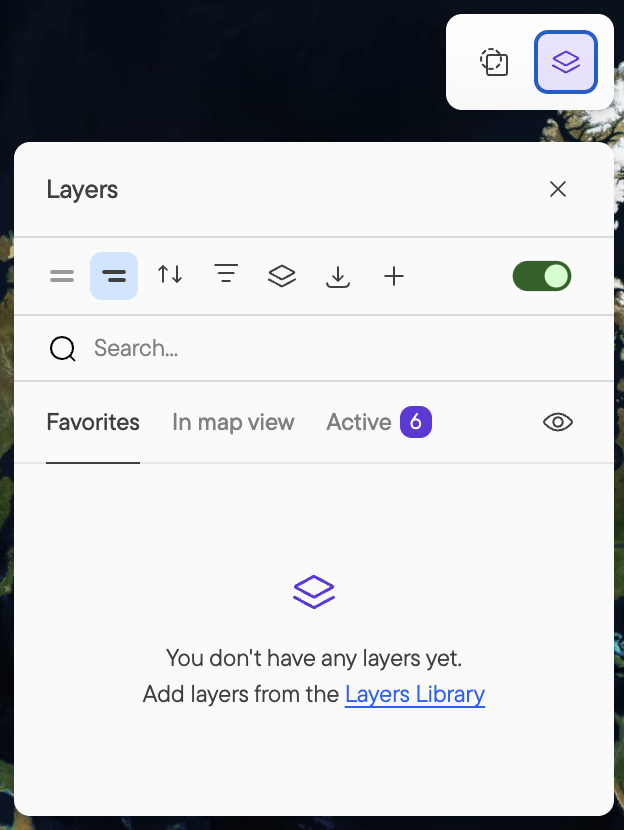
The first time you click on Layers, the dropdown list is empty. You will need to add the data from the Layers Library to view them in the list.
The Filter button allows you to use the data layers for prospecting by filtering out areas that don't meet the criteria for a good solar site. Learn more about how to filter out the best sites to become a pro prospector.
The drawing tool
On the bottom of the screen, you can access the drawing tool to create polygons, lines, automatically calculated grid connection lines, and shapes such as rectangles, circles, and points. Read more about how to use the drawing tool here.

Basemaps, 3D view and measurement tool
At the bottom right of the screen, you can navigate the map view. Zoom in and out, change basemaps, or switch to 3D mode. You can also find our measurement tool here.
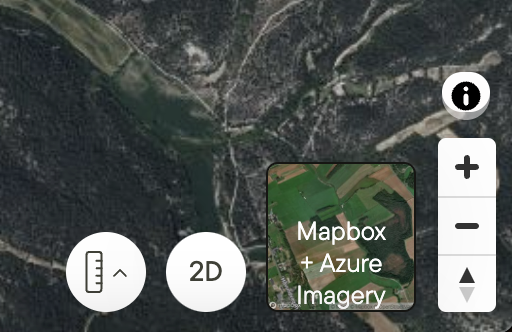
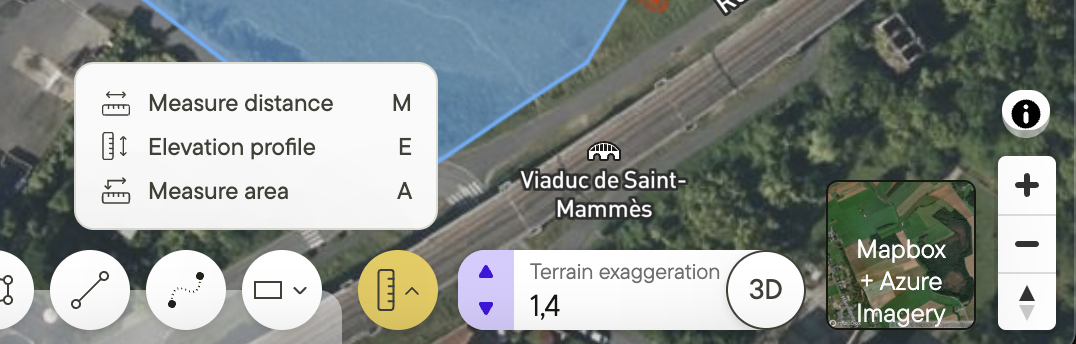
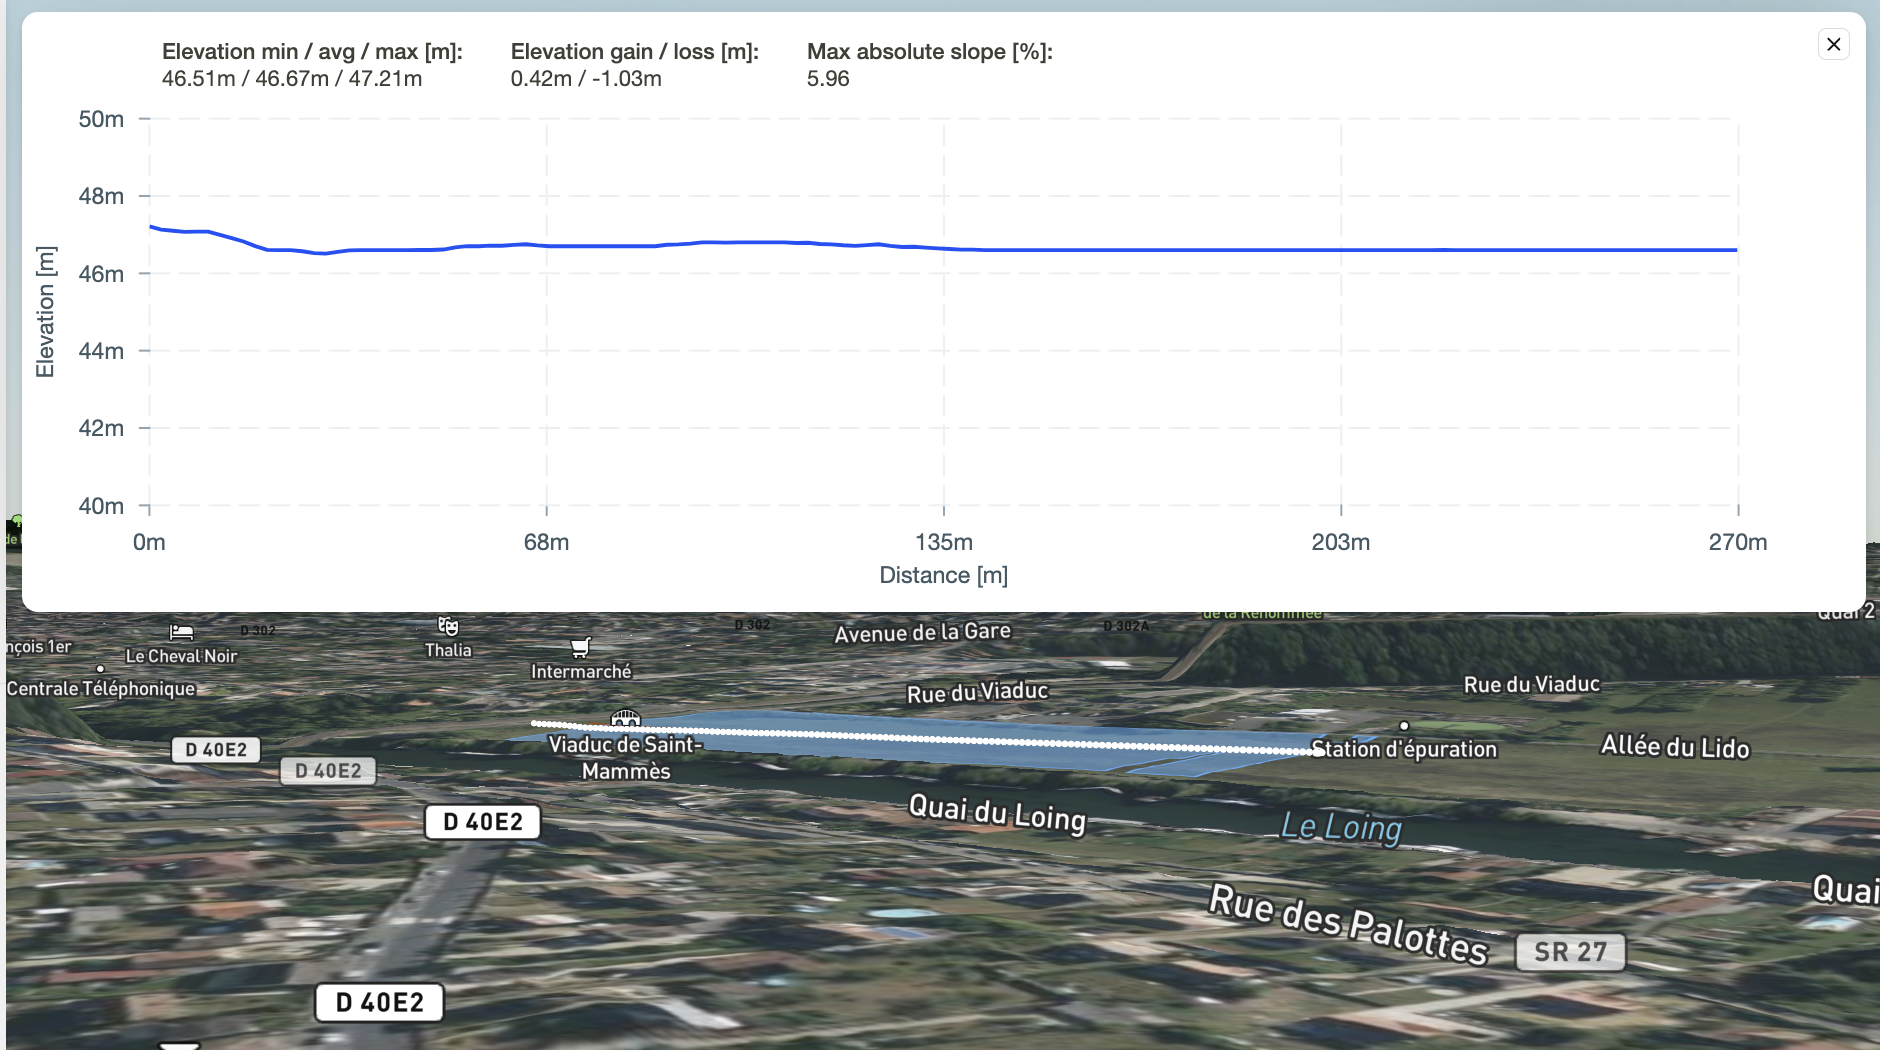
When switching to 3D mode, you will see two additional functionalities appear: terrain exaggeration and elevation profile. With terrain exaggeration, you can enhance the 3D view to better see the landscape contours. With the elevation profile functionality, you can trace a line on the map to see the terrain profile appear.
Additional resources
Learn more about how to start using Glint Solar.
Read how to create your first project in Glint Solar.