Working with contacts
Contacts help you manage every type of stakeholder relevant to your project whether it's a landowner, grid operator, municipal employee, neighbor, or similar. You can create and manage contacts, connect them to individual parcels, and log comments with files to each contact.
🆕 New feature. This is a new feature set launched on May 27. 2026. Please reach out to the team if you have questions or wish to provide feedback for future improvements.
Adding new contacts
You can add new contacts everywhere it is available - to the organization, a project, a parcel. A contact will be made available to the organization regardless of where it was added which means you can easily add a contact in one project and reuse in another.
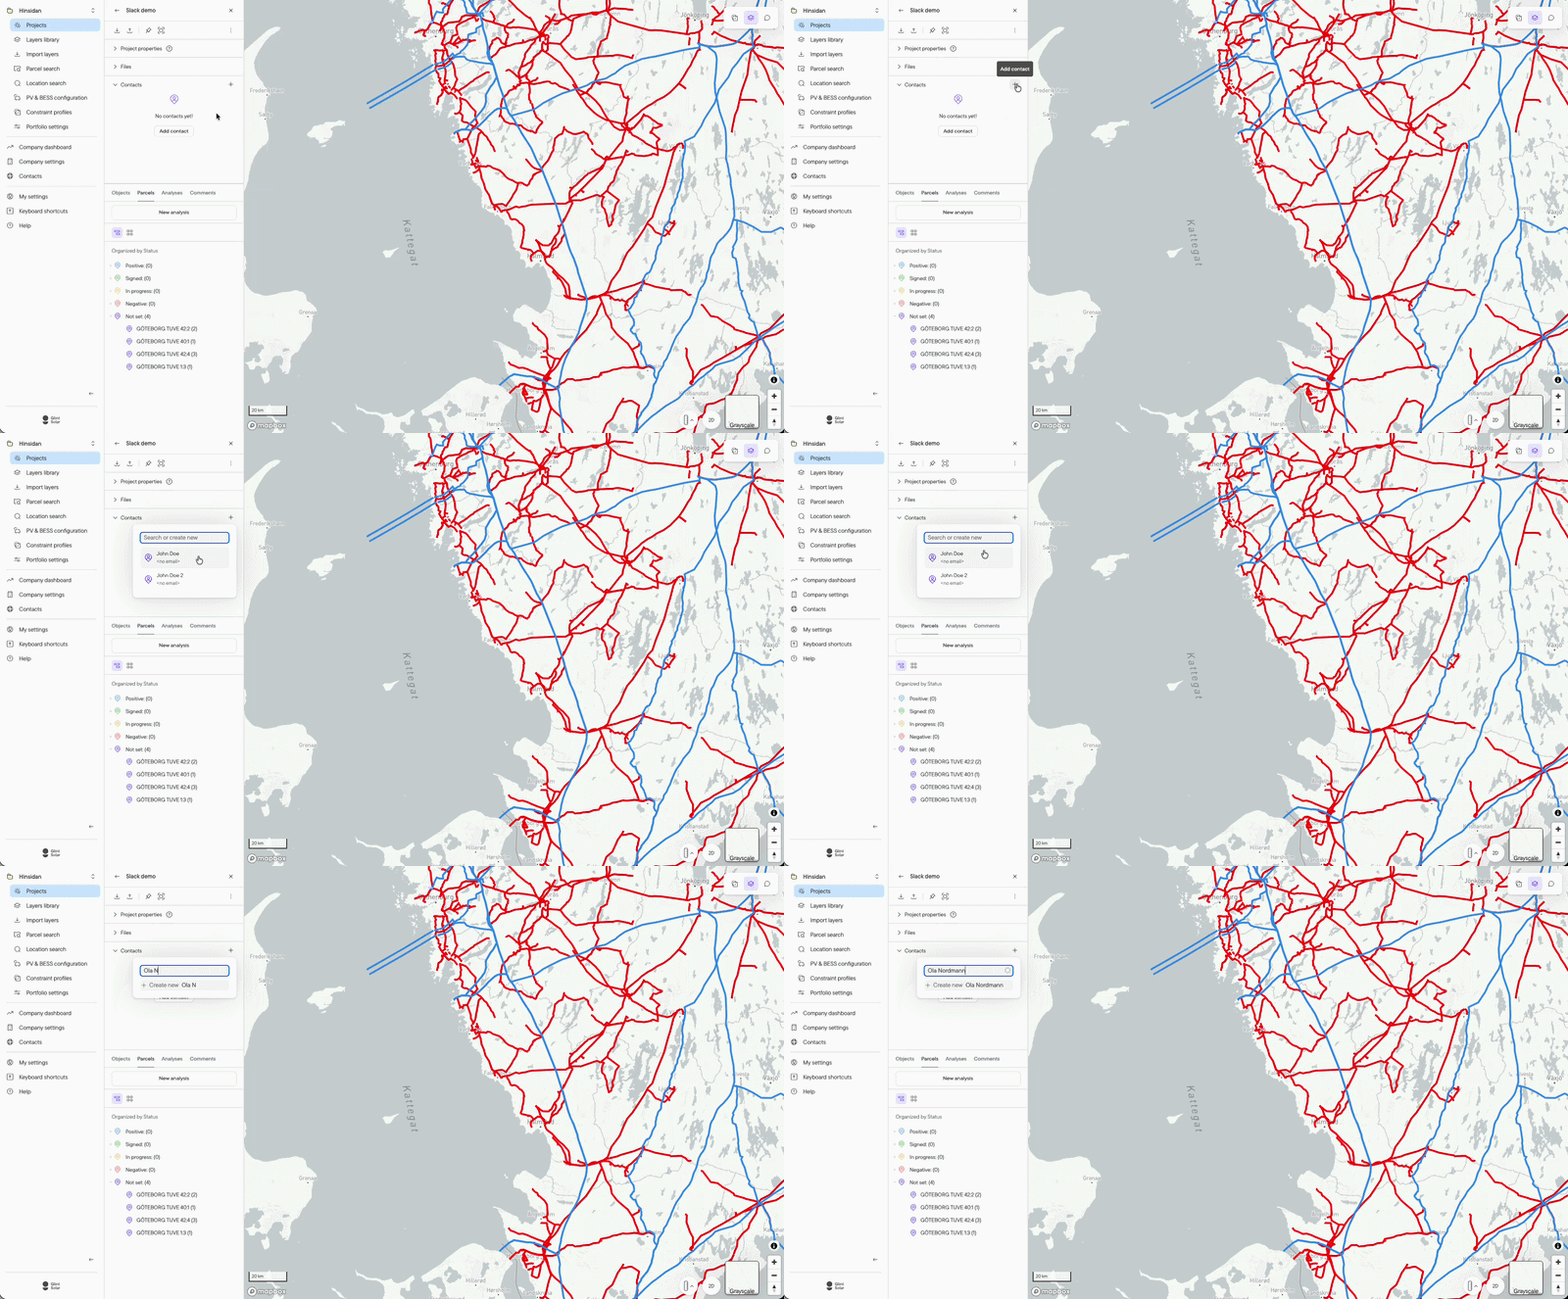
In a project or on a parcel:
- Click the + icon in the contact section for a project or parcel
- Write the name of the contact and press Enter
- Fill out any remaining fields you like in the Contact card, which opens on the right
On the contacts page:
- Click "+ New contact" above the table
- Write the contact information in the dialogue and press Enter
Add existing contact a parcel or project
You can add contacts to project, either on a parcel (e.g. if it is a land owner), or directly in the project.
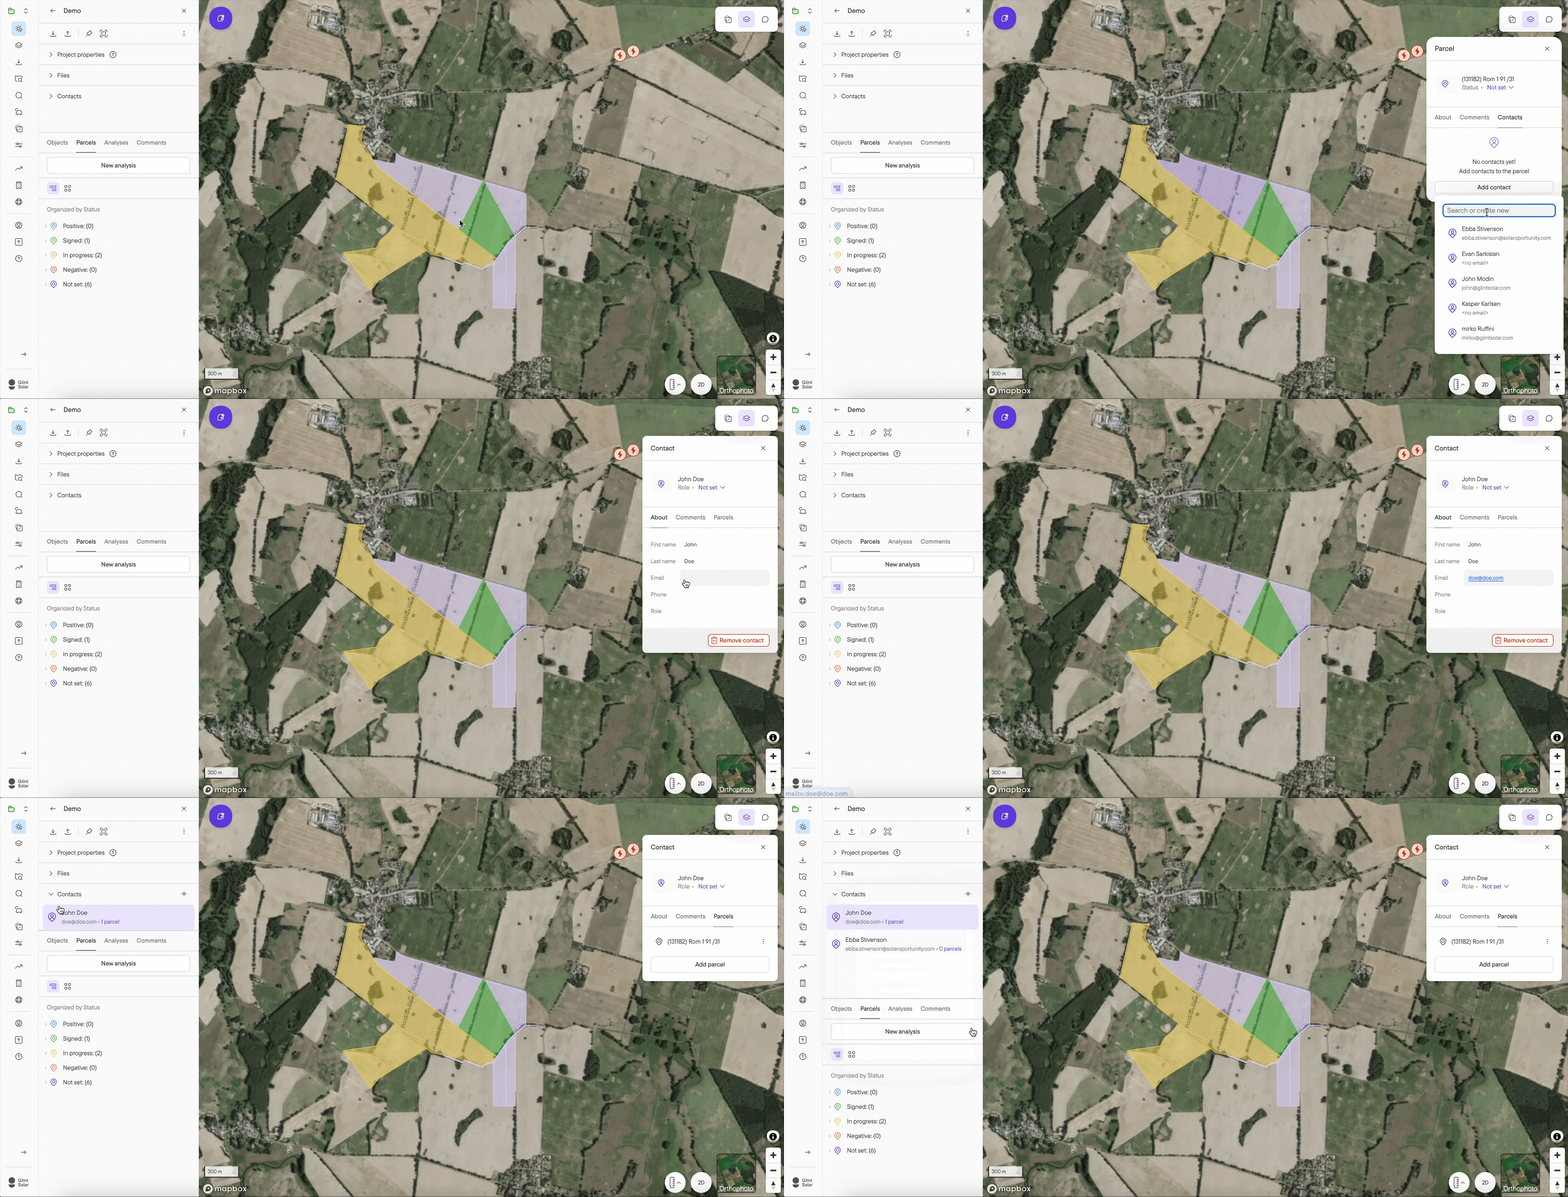
To add a contact to a parcel:
- Click a parcel either in the list or in the map
- Click the "Contacts" tab
- Click add contact
To add directly in the project:
- In the project menu on the left, click the small pluss sign that appears next to "Contacts"
Organize parcels with contacts
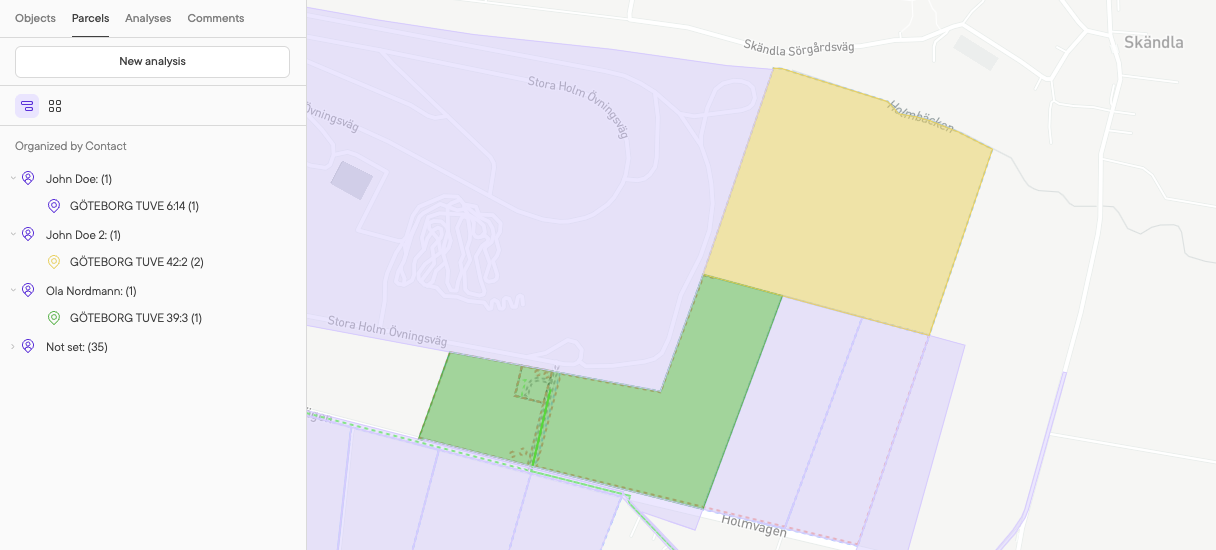
When you use contacts and assign them to parcels you can organize the parcel list by contacts to easily see how you progress with each landowner, grid operator, etc.
Manage contacts across projects
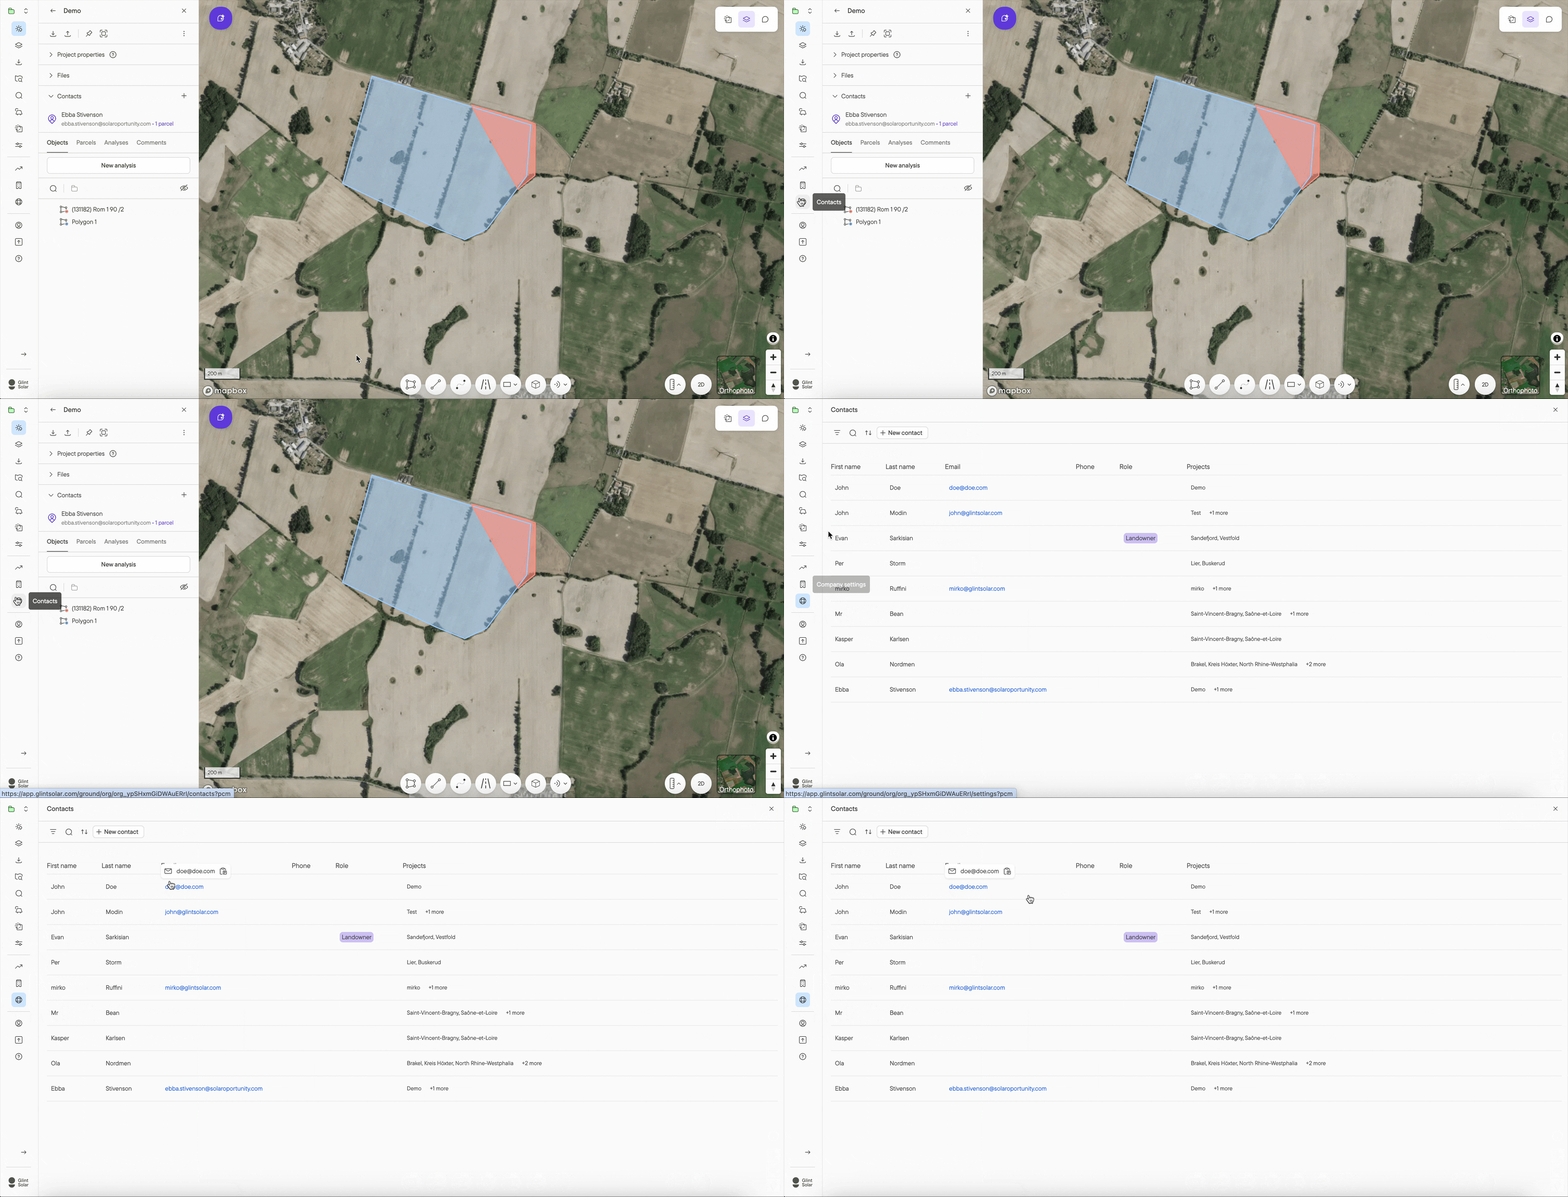
You can view all your contacts across the organizations projects and portfolios by locating the Contacts button in the left-hand menu.
Customizing properties for contacts
Contacts come with a set of standard properties but you can add your own like adress, a customer id, or similar. To do this
- Go to Company Settings
- Locate the Company Properties tab
- In the next row, select Contacts. You will see a liste of all current properties for Contacts in your organization
- Select Add Property to add a new one. You may configure other property types as well.
- Confirm with save.
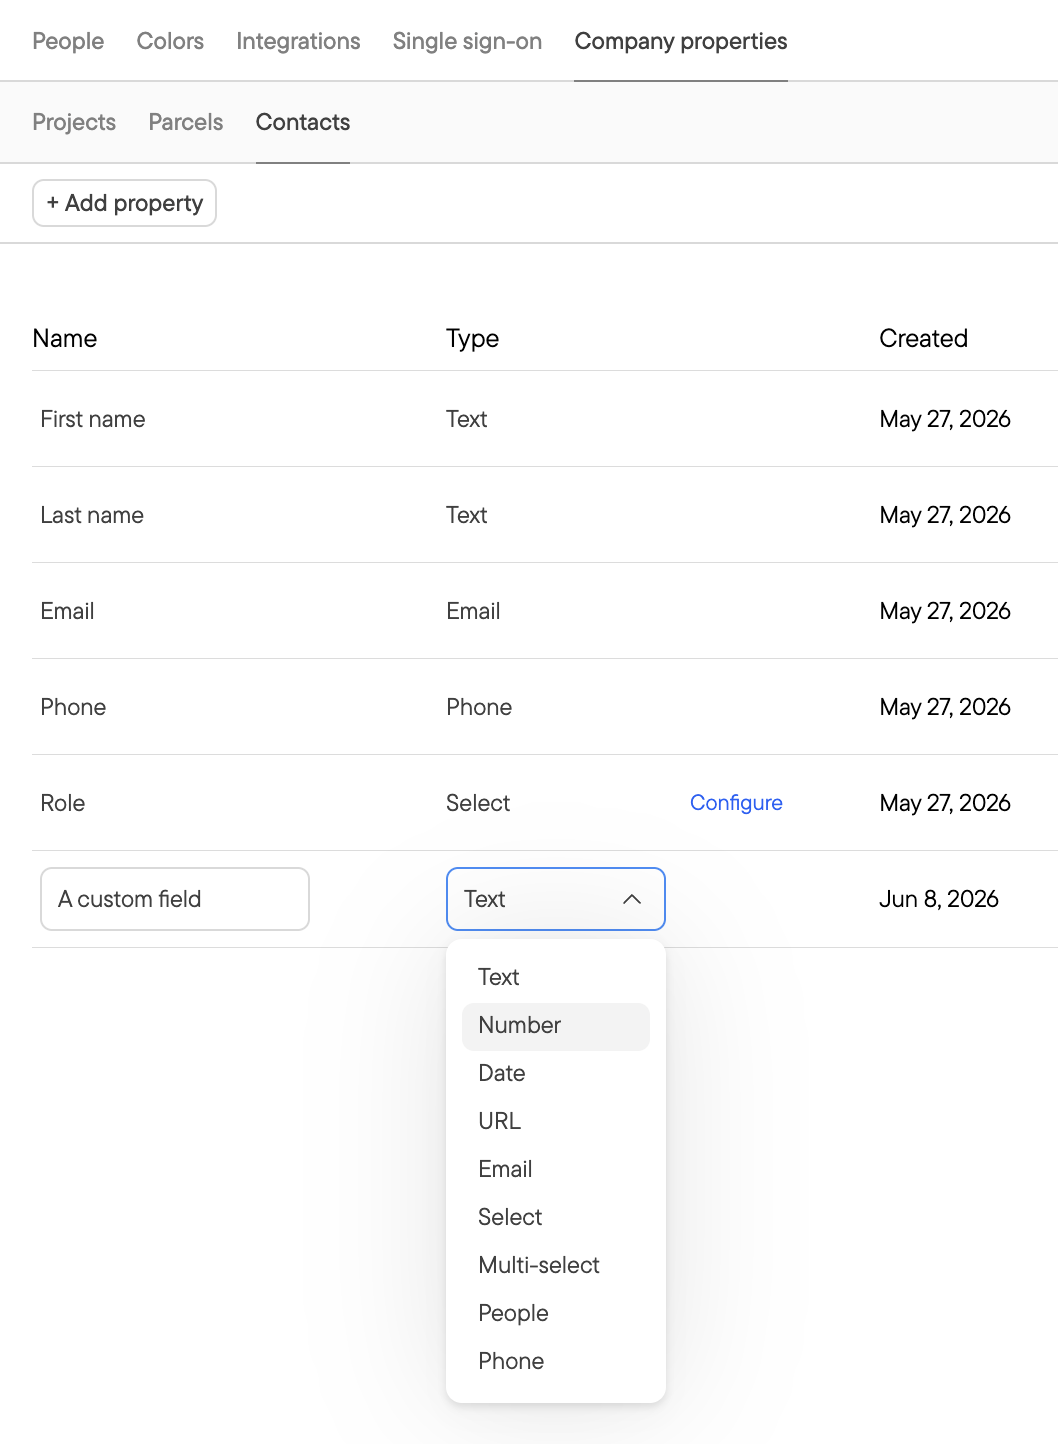
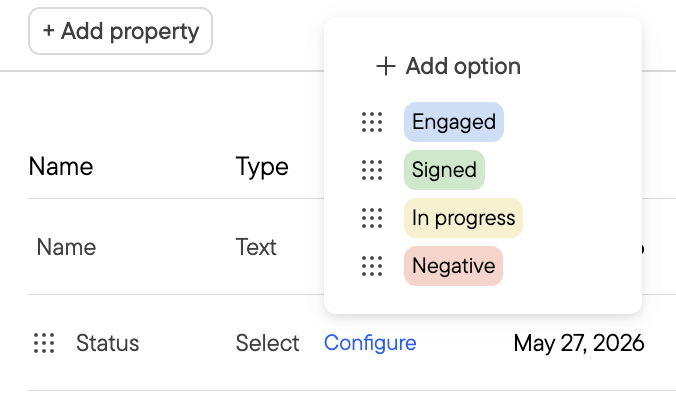
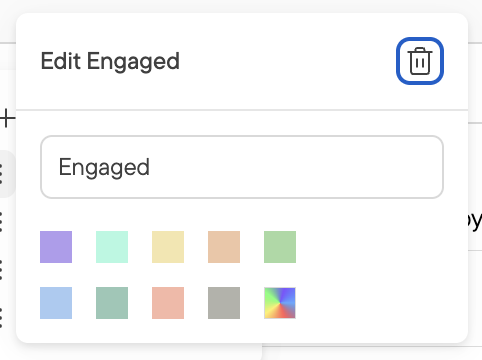
You can also customize the properties available for role to fit your own workflow. You do this by pressing Configure, and select the existing property you wish to edit. Both name and colors can be customized. This change will apply for your entire organization.